In this brief tutorial you’ll learn how to check your mac address and how to edit it randomly or for a specific replacement mac address.
For this tutorial I will work on the network card enp2s0, replace this network card for yours (e.g eth0, wlan0, etc.)
To check your mac address just execute:
We can see on the enp2s0 network card the mac address is d0:17:c2:12:3c:cd while the wlp3s0 wifi card mac address is a2:58:a6:6a:29:04. Mac addresses 12 digits, 6 fields of 2 characters and letters separated by “:” like XX:XX:XX:XX:XX:XX.
The first 6 characters and numbers belong to the device manufacturer, in my case d0:17:c2 belongs to ASUS. The last 12 digits are the ID number for the hardware and it is unique.
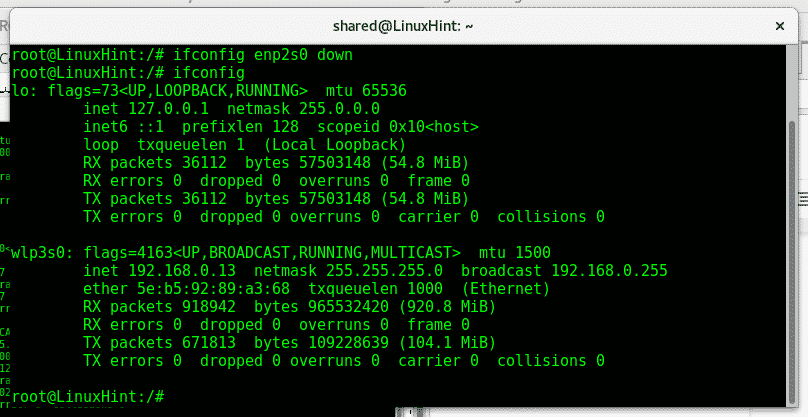
First of all, to edit our network card mac address we need to disable our network card, the mac can not be changed while the card is being used. To disable our network card run:
Then, to edit our mac address type:
Then enable the network card back by typing:
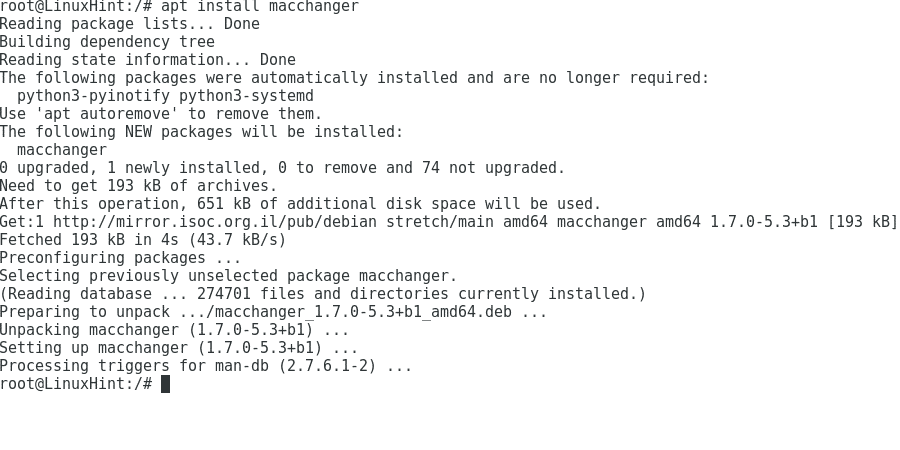
If you need to edit our mac frequently maybe is convenient to use a program called macchanger, to install it on Debian or Ubuntu systems run:
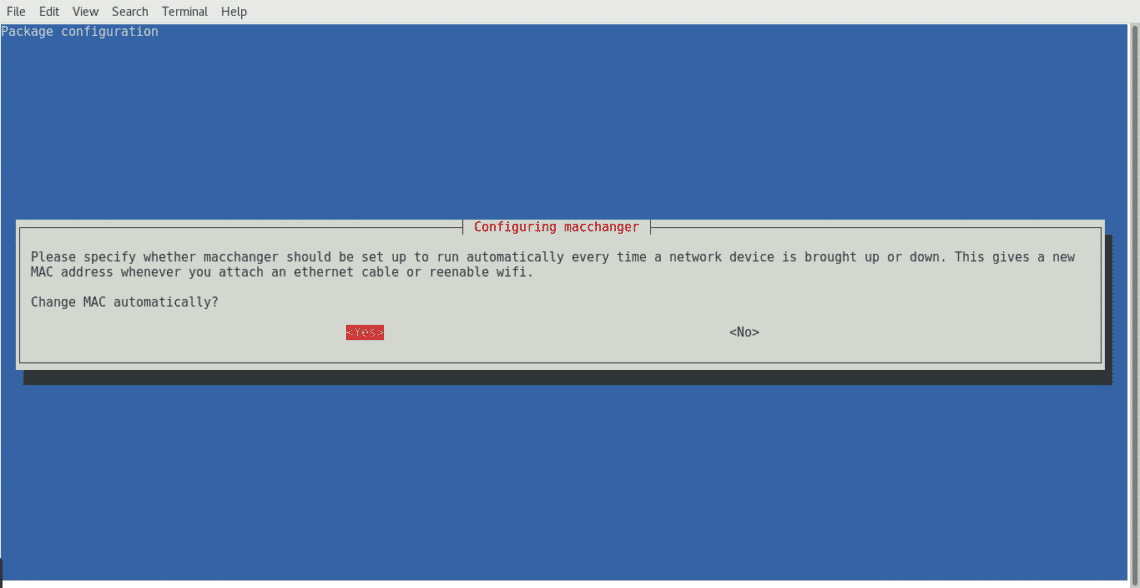
During the installation you’ll be asked if macchanger should start when a networking device is enabled, here you can decide whatever you want, changing your mac address by default shouldn’t create problems unless you have your router configured to accept specific mac addresses.
Select any of the options and press enter to finish.
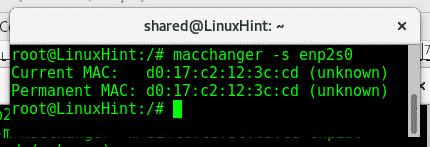
After macchanger is installed we can also check our mac address by typing
As you can see it matches with the mac address exposed using ifconfig.
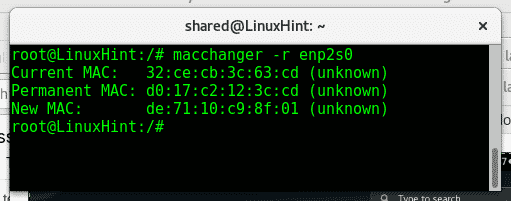
Here Macchanger shows the current mac, the real hardware’s mac (Permanent MAC) and the new one if you assign it.To change your mac address fast for a random address simply run:
Make sure you run macchanger as root and that the network device is down. If you get an error when running this command then run:
To disable your network card, after it type “ifconfig” again and you’ll see your network card wont show up.
Then run macchanger -r again.
If we want to assign our card a specific address we can execute:
For example
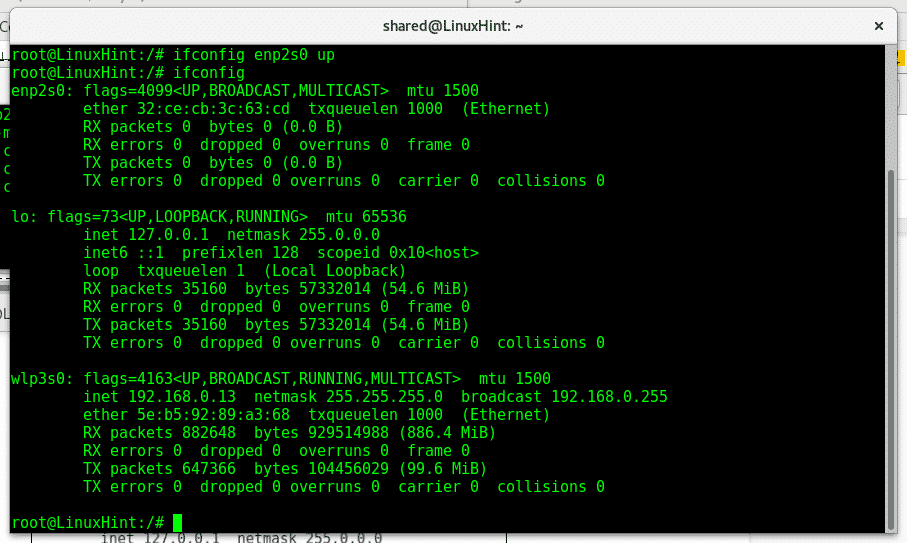
If we set our card up and run an ifconfig we’ll see our new mac address.
After editing our mac address we need to enable the network card back, for this run::
ifconfig
Now we can see our system also displays the new mac address 32:ce:cb:3c:63:cd.
Firewalls and IDS can contain policies whitelisting and banning specific mac addresses. Manipulating our network cards’ physical address is a great step to avoid leaving traces in logs and increase your privacy by masking your device or to bypass security obstacles when pentesting a network, the most common use as said at the starting is when we want to crack a wifi access dissociating a connected device with the aircrack suite by cloning it’s mac address.
I hope you found this tutorial on macchanger useful, keep following LinuxHint for more tips and updates on Linux.


