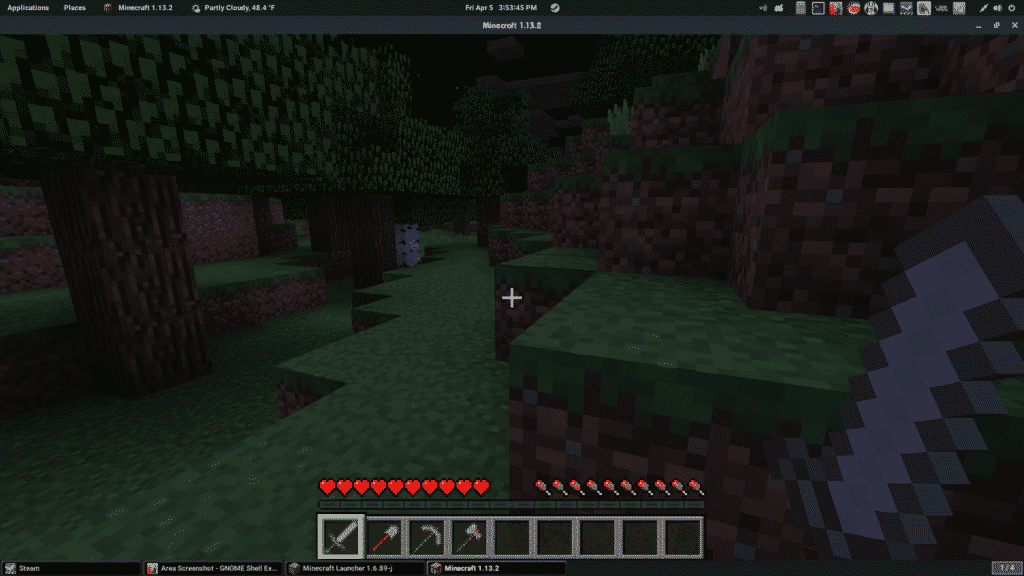
Introduction to Minecraft
If you are into building mansions, huge skyscrapers, or just some unusual houses and structures, Minecraft is the game for you. It is a platform that allows you to run amuck with your creativity and rarely ever see a limit to what you can do. People have created mega structures after putting in hours of labor and sweat into it and the end results are always amazing to watch. Real world monuments and stadiums are just some of the wonders that people have managed to recreate in the world of Minecraft and with each passing day, its community grows and gets more creative with every new invention often putting the previous one in the shadows. You can even manage to create actual functioning computers in this world by using something called a redstone. The computers you make with redstones act completely like normal computers and are fully capable of doing basic arithmetic and perform operations that a typical arithmetic logic unit (the heart of the CPU) can accomplish. If you really put your brain into it, Minecraft really has no bounds with what you can do. In fact, a player managed to create a fully functioning hard drive with read and write capabilities that could store over 1 kilobyte of data.
Minecraft also comes with a survival mode, but its main form of attraction lies in its endless creative mode that we have discussed.
Setting up drivers, downloading, and installing
Minecraft was initially released on the Windows, Mac OS, and Linux platforms and due to its strong and diverse audience, it quickly made its way onto other platforms like the Xbox and PlayStation.
Typically, users do not game much on Linux and that makes downloading and installing games a tad more difficult than it actually seems, with less tutorials out there. But worry not, as we have got you covered in the entire process of getting Minecraft to run on your computer from the start till the end.
The first thing that you should take care of is to set your graphics options to the kind that you want. Linux will have installed some sort of drivers by default on the system and they should work with the game pretty normally but in some cases there can be abnormal behavior depending on the type of hardware you are running so it is best to use the provided drivers by the maker of your graphics card (Nvidia or AMD).
To set your options accordingly, you will need to open the Software & Updates window and make your way down to the Additional Drivers tab. Once you are there, choose the Nvidia drivers that you want to use and click on the Apply button for the settings to save. You might be prompted to restart the computer (depending on the version of the OS) for the changes to take effect but even if you do not get such a message, it will be better to perform a restart so that the changes take place normally.
Once that is taken care of, you will need to decide on what Java runtime you are planning to use. Discussion of what Java runtime is deserved an article of its own. Over here we will just help you choose what you need for your Minecraft needs. You get two options here: Java and OpenJDK.
To be brief, OpenJDK is more secure but isn’t designed specifically for Minecraft whereas Java is. If Minecraft performance is what you are looking for, go with Java. You can download Java from Google and its download instructions are clear, concise, and available on its website.
After finally getting done with all the prerequisites, the last thing to do is to download the game itself. To get the original Minecraft game from its true owners, head over to https://www.minecraft.net/en-us/ and proceed to make a Mojang account (an account for the website) on the website which will let you purchase the game. Once your account has been created and a mode of payment has been verified, you will be able to buy the game. Make sure you buy the Linux version since you do not want to waste your hard earned money on something that you cannot even use.
The file you download from the official website should be in a .jar extension. Once the file has been downloaded, you should navigate to the download folder and right-click on the downloaded file and choose the ‘Open with – Java Runtime’ option. Your game will then load and you will be able to play in no time.
Getting the most out of the creative mode
In the initial stages of the game, it might seem daunting and confusing. To get out of that phase, the best way to get accustomed to the world of Minecraft is to look at and observe the community-made content. The internet is filled with numerous forums and YouTube channels that are dedicated to showing off their Minecraft skills and they are an amazing place to learn new things from. All of these platforms also offer many beginner-friendly tutorials that will help you get on your feet in no time and start creating some personal gems straight away. With enough practice, you might soon end up on the community boards as a talented content creator yourself and from there, your growth is pretty much limitless.
If the creative mode is getting too much, try using the survival mode to let things cool down for a while and play Minecraft in a different way. It might click to you more and offer a way to switch between different settings of the game for maximum enjoyment.


