All the people who belong to the networking background know that an IP address acts as a unique identifier of the devices within a network. Therefore, we must know the IP addresses of the devices within a network to enable smooth network communication. Today’s article will focus on the different methods of listing all the IP addresses on the Interface in Linux Mint 20.
Methods of listing all IP Addresses on the Interface in Linux Mint 20
For listing all the IP addresses on the Interface in Linux Mint 20, you can pick any of the following four methods.
Method # 1: Display all Network Interfaces and their IP Addresses
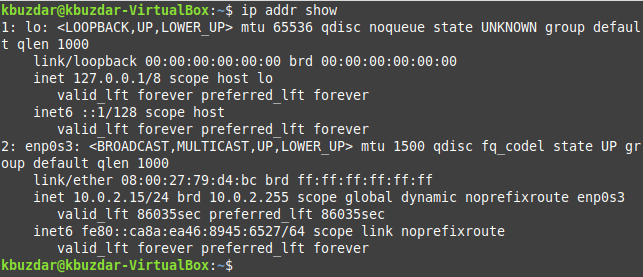
You can display all the network interfaces and their respective IP addresses in Linux Mint 20 by executing the built-in Command shown below:
The results from the execution of this command are shown in the following image:
Method # 2: Display all the IPv4 Addresses
If you want to display all the IPv4 addresses on the Interface only in Linux Mint 20, then you can execute the command shown below:
All the IPv4 addresses are shown in the following image:
Method # 3: Display all the IPv6 Addresses
If you want to display all the IPv6 addresses on the Interface only in Linux Mint 20, then you need to execute the Command shown below:
All the IPv6 addresses are shown in the following image:
Method # 4: Display all the IP Addresses in the Connected Network
You can also display all the IP addresses in the connected network in Linux Mint 20 by following the procedure described below:
Step # 1: Install the “arp-scan” Command in Linux Mint 20
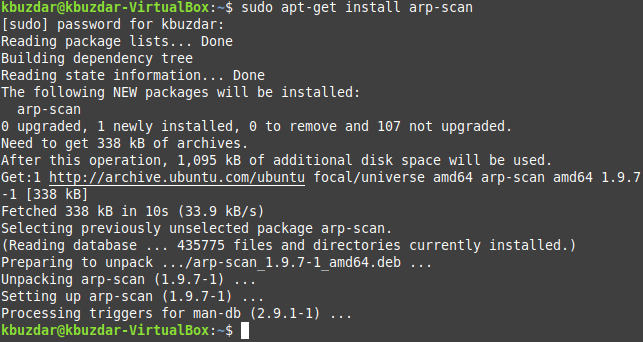
First, you need to install the “arp-scan” Command in Linux Mint 20, which will later be used to list all the IP addresses in the connected network. This is not a built-in command in Linux, but it can be installed by executing the following Command:
Once this Command is installed on your Linux Mint 20 system, you will be able to use it for listing down all the IP addresses in the connected network.
Step # 2: Find your Network Interface Name with the “ifconfig” Command in Linux Mint 20
Before using the “arp-scan” Command, you need to find your network interface name with the command shown below:
In our case, the network interface name is “enp0s3” as shown in the following image. This network interface name will be used with the “arp-scan” Command in the next step.
Step # 3: Use the “arp-scan” Command for displaying all the IP Addresses in the Connected Network in Linux Mint 20
Now, you can use the “arp-scan” Command for displaying all the IP addresses in the connected network in Linux Mint 20 in the manner shown below:
Here, it would be best if you replaced NetworkInterfaceName with the name of your particular network interface. In our case, it was “enp0s3” that we found out in step # 2.
The results from the execution of this Command are shown in the following image:
Conclusion
By picking any method (according to your requirements) from the ones that have been presented to you in this article, you can easily list all the IP addresses on the Interface in Linux. All of these methods have been performed on Linux Mint 20 for testing. However, the very same methods can also be employed on Debian 10 and Ubuntu 20.04.


